Installing WordPress on Localhost permits you freedom. You can change or test anything on WordPress without worrying about damaging your website. You can learn and practice WordPress on localhost. If you are satisfied with your result, you can apply that to your live website.
What is WordPress?
Everyone knows about WordPress. It is a content management system. It allows us to build websites without coding. WordPress was released with a GNU General Public License (GPL), and it is open-source. We can use WordPress without paying anything. If you want to use premium themes, plugins, hosting, etc., you will have to pay.
Usually, we buy a Domain, a Hosting and install WordPress, and develop a website. If we do all this development on a live website, all the changes will be public. Visitors will see the changes in real-time. Localhost can solve this problem.
What is localhost?
Now what is localhost, it simply means “this computer”. Elaborately installing a program or application on your computer makes it a personal webserver. WordPress on localhost means installing WordPress on your computer so that you can work offline.
Why Install WordPress on Localhost?
Installing WordPress Locally and developing a site on it have some benefits. Here are some benefits
Minimize Site Downtime
If you are developing a live site or making changes to it, something goes wrong; your site can go down. Your visitors may go to your site and find it buggy or down. Downtime may affect your SEO ranking.
You can avoid all this by developing your site or making changes to it on the localhost. You can test offline and if it is ok then put the changes on the live site.
Speedy Development
You can install themes, plugins, and tools in localhost and test them quickly. In case you do not like it, no need to install it on the live site. You can do this any amount of time without restriction. Your live site does not have to go through with all these changes. You need to find the perfect settings from testing on the local WordPress site and put it onto the live site.
You can have faster development following this process.
Free Learning
If you are new to WordPress and do not have any live website, you can learn on localhost. You do not need money to buy hosting and domain to learn WordPress.
Localhost Solutions
You can use WordPress with many different types of Localhost solutions. There are different types of localhost servers such as WampServer, MAMP, and XAMPP. They are complex to use. Our main goal is to find a solution that is very easy and user-friendly. We have three recommendations. But we will discuss only one for this post.
Our Three recommendation
All of them have some unique features. In this post, we only discuss LocalWP.
LocalWP Features
- Cross-Platform Support
- Can develop multiple sites
- Custom configuration possible for PHP, MySQL, and Webservers.
- Easy WordPress installation
Install WordPress on Localhost
Installation File Download
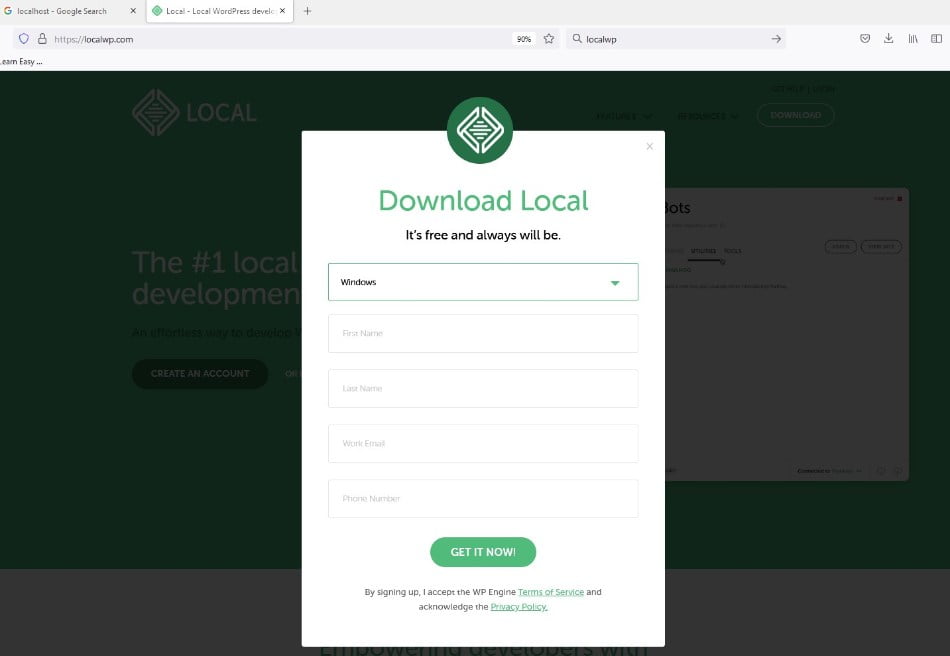
Go to the LocalWP website and download the installation file. You can install local on three platforms: Windows, Mac, and Linux. Choose your operating system and complete the registration process. To generate a live link registration process is mandatory.
Here we will describe the complete process for the Windows platform. Apart from installation, all in-app steps are the same for Mac and Linux.
Install LocalWP
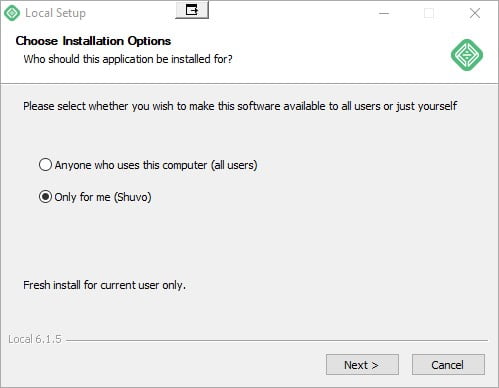
To start the installation process, you need to double-click on the downloaded file. Select whether you want this software for all users or yourself only.
Creating a New Site
After finishing the installation process, we can now start creating a WordPress website on LocalWP by clicking either “Create a New Site” or on the Lower left “+” Button.
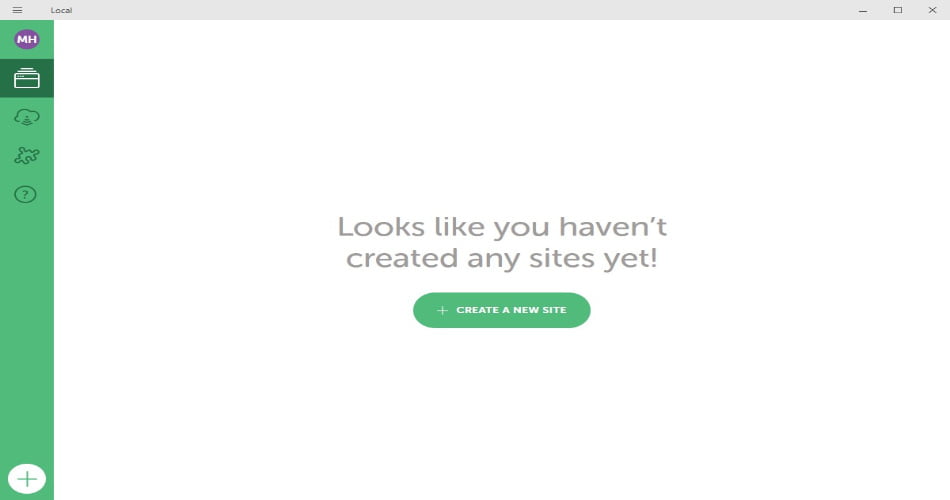
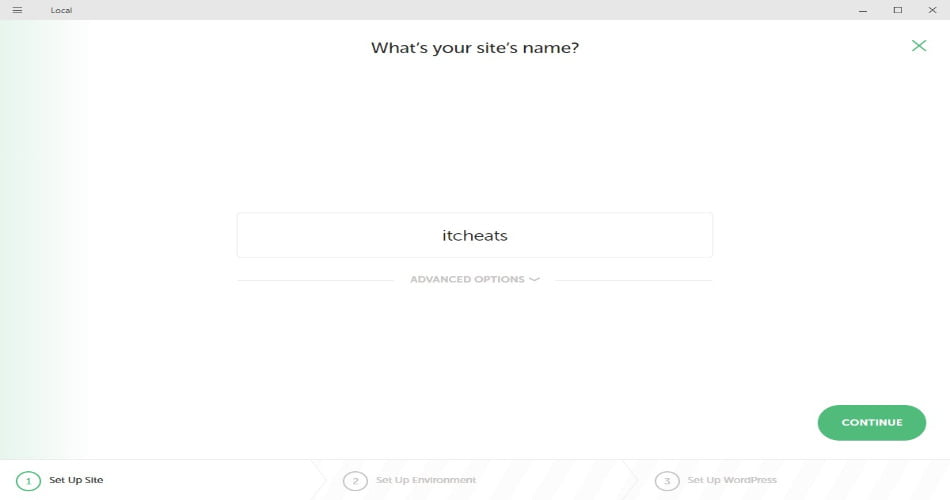
Creating a New Site on LocalWP
Write down your website name and click the “Continue” button for the next step.
Environment Selection
In this step, we have to choose the environment for the WordPress setup. We get two options from LocalWP, Preferred, and Custom. Preferred offers pre-selected options of PHP/SQL/Web Server and in Custom you can choose different versions of PHP/SQL/Web Server.
If you are not familiar with these Custom options, we recommend selecting Preferred and continuing.
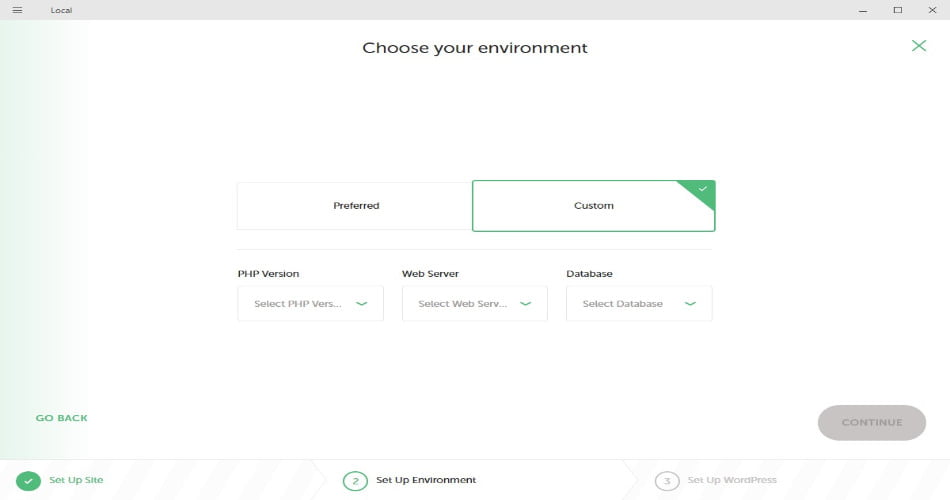
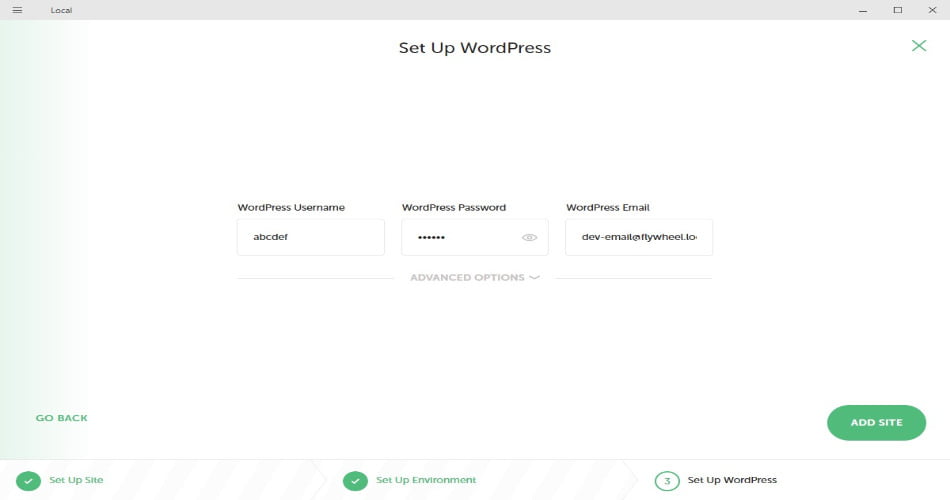
Selecting WordPress Options
WordPress Setup
After choosing the environment, Local will prompt you to give WP Username, Password, and Email. The Username and Password will need for WP dashboard login. You do not need to change any “Advanced Options”. Now click on “Add Site”.
LocalWP will start downloading WordPress and install it on your computer. You may be asked to allow permission to make changes to your device by the app.
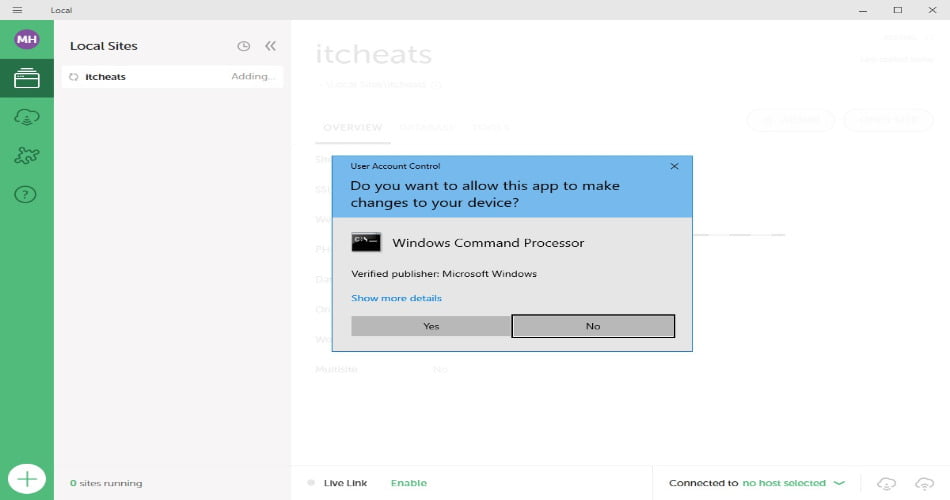
Permission to make changes to your device
App Settings
Now we can see that the site is added in the top left. We can start the site by clicking “Start Site” on the top right. Without starting, we can’t access the site in the web browser. The “Admin” button is for accessing the dashboard panel of the site.
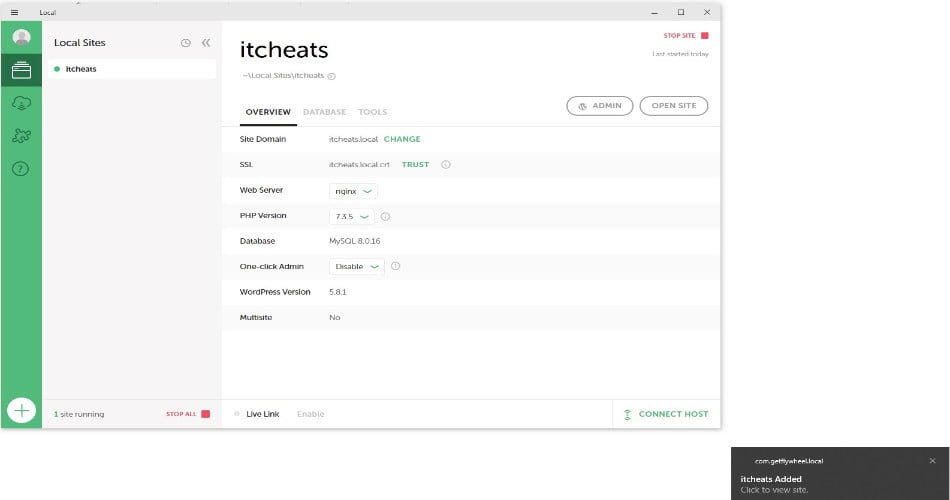
LocalWP Interface
LocalWP provides site address with “.local” extension. When we click the “Admin” button WordPress dashboard login option will pop up.
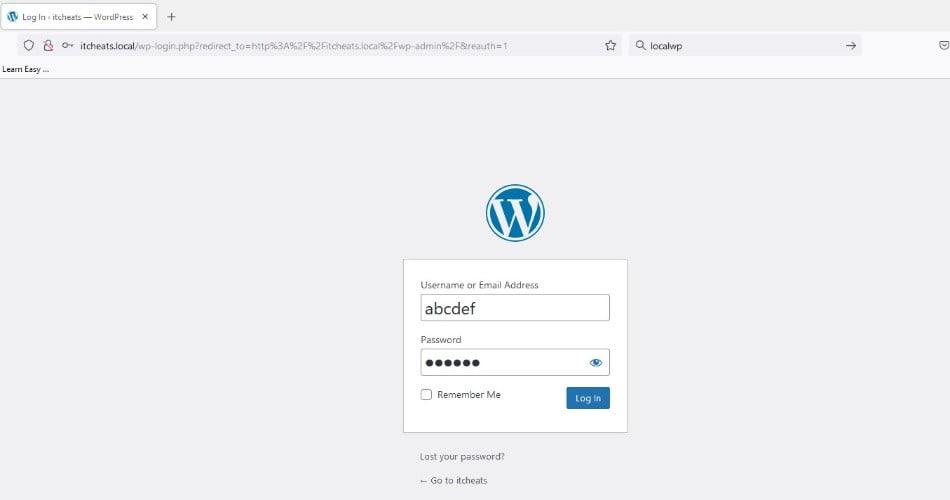
WordPress Login Dashboard
After login, we can see that all options of WordPress are available. We can add themes, plugins, and tools online and from the computer. Updates are also available.
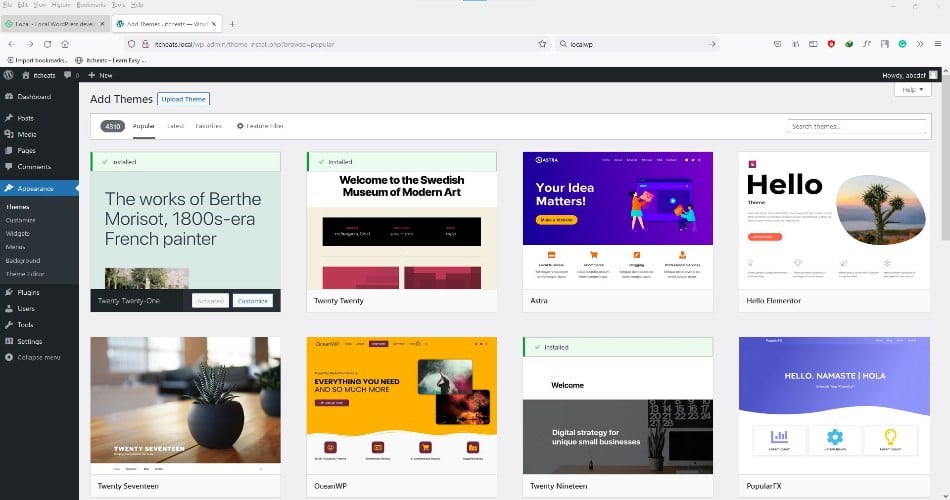
WordPress Dashboard
We can activate the SSL certificate by clicking the “Trust” button.
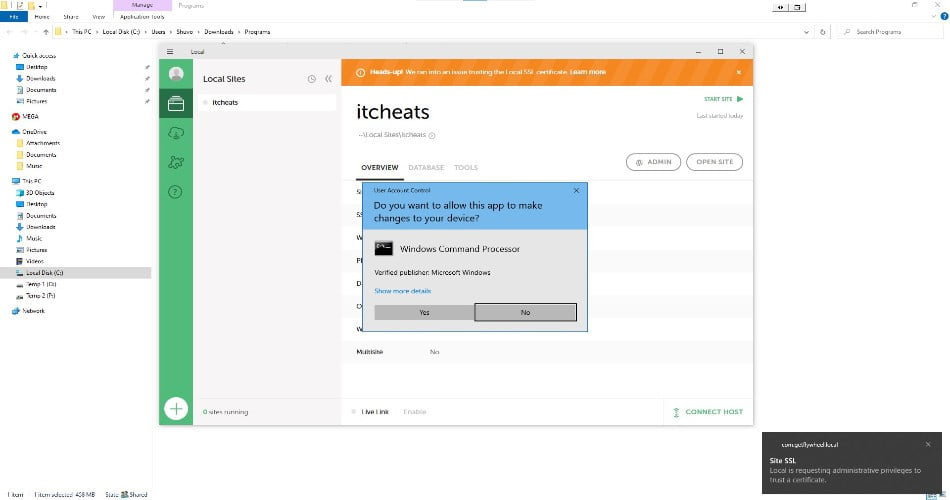
Install SSL on LocalWP
We can change the host by clicking the “Connect Host” button in the lower right corner. There are two options Flywheel and Wpengine.
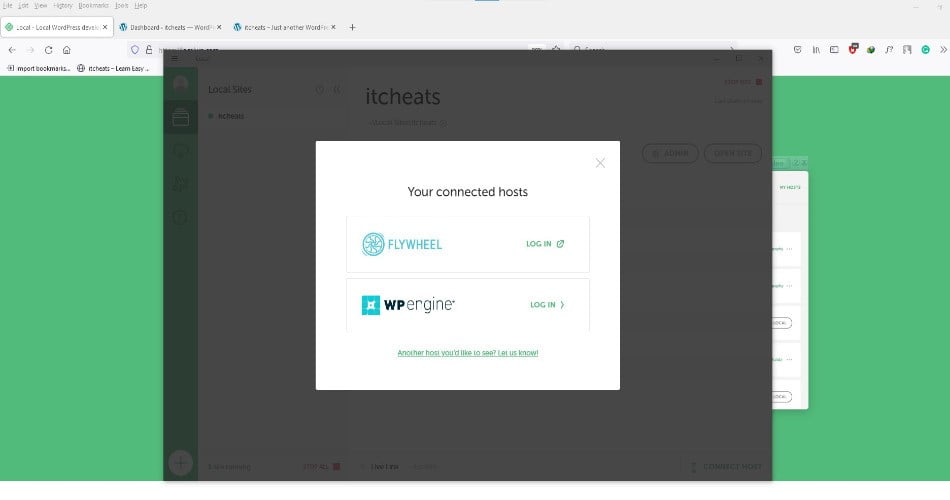
Changing Host (Flywheel and Wpengine)
If we want to see the site’s progress, we need to enable the live link option. We will get the credentials for login.
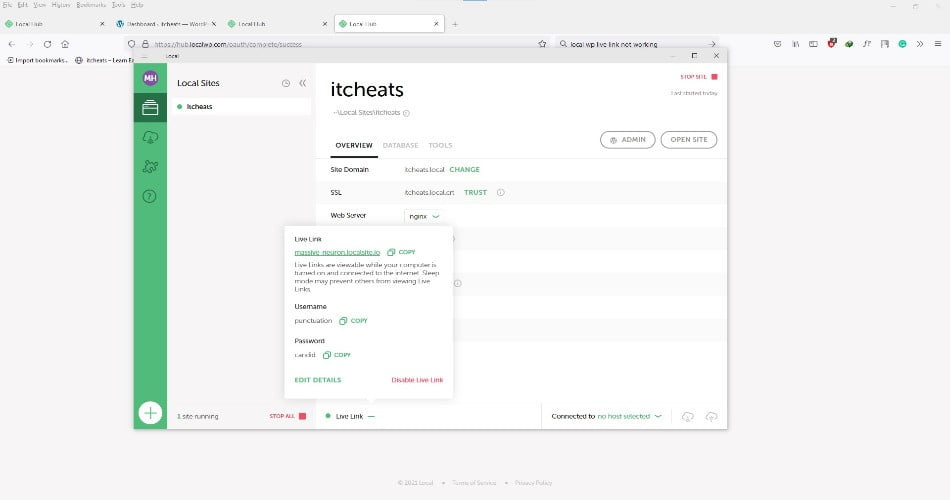
Login Credentials for Live Link
LocalWP is one of the easiest ways to use WordPress on your local computer. It is faster and has a user-friendly interface. If you are new to WordPress, it is perfect for you. You do not need to do anything manually.
From our experience, we think you will be happy to use it.
For better understanding, you can watch the tutorial video.
Hi, I do believe this is a great website. I stumbledupon it 😉 I may come back once again since I
book marked it. Money and freedom is the best way
to change, may you be rich and continue to guide others.